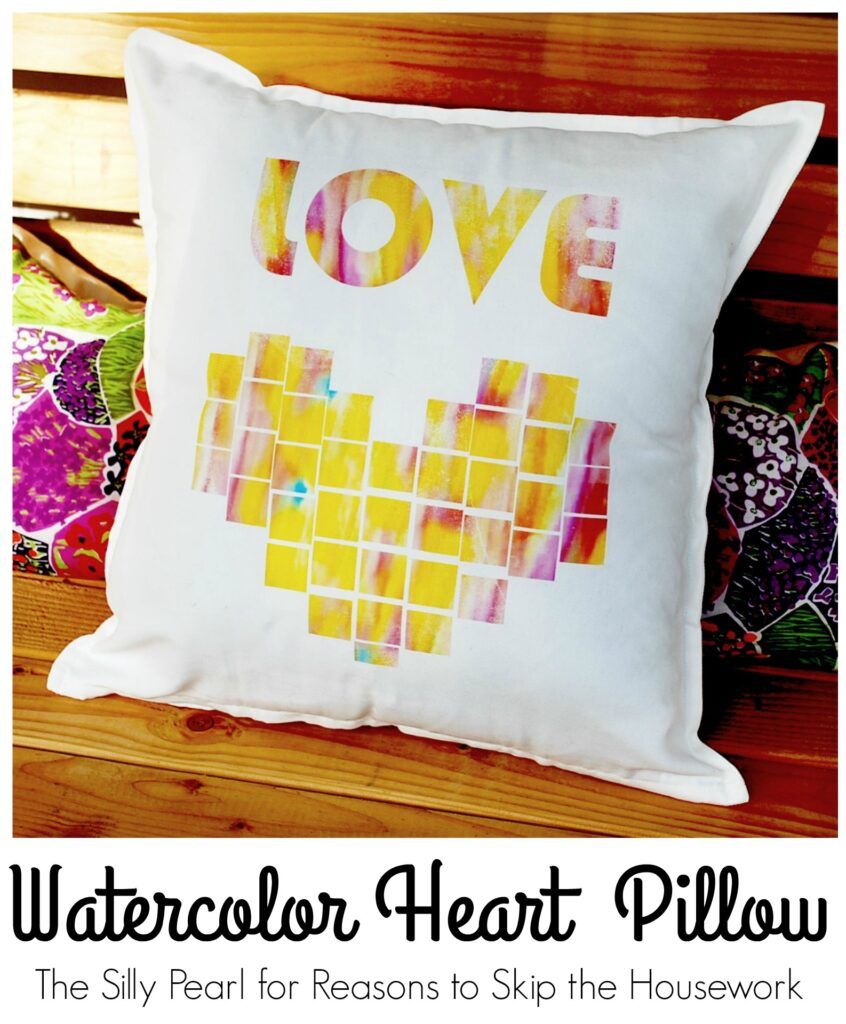
Hello all, my name is Steph from the blog The Silly Pearl and I’m so happy to be here at Reasons to Skip the Housework for another craft tutorial. Today I’m sharing my Watercolor Heart Pillow. With the help of your camera and some free, easy-to-use online software, you can customize your own pillow with a watercolor design. Or, feel free to use my design!
Supplies
- Watercolors and paper
- Camera (your phone is fine)
- PicMonkey.com
- Iron-On Transfer Paper
- Inkjet Printer
- Iron and ironing board
- Pillow cover and pillow form
Directions
If you want to use my “Love” and Heart images, you can skip all these first steps and proceed to the printing/ironing-on part. But if you’d like to make your own watercolor image, here’s how. First, randomly paint watercolors on a piece of paper. I used watercolor pencil misted with water.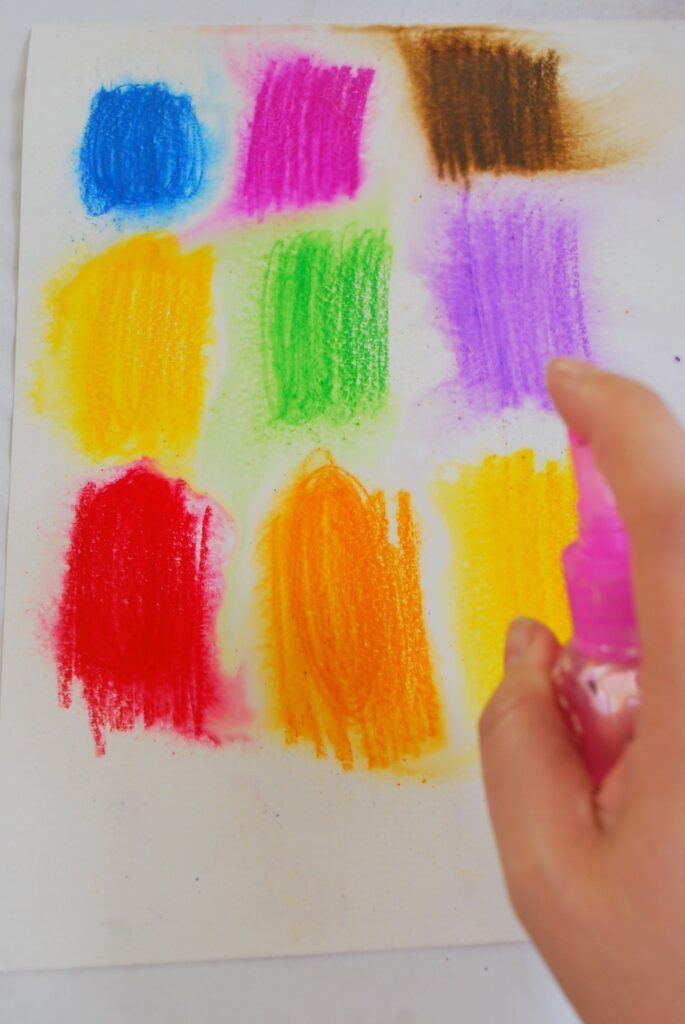
When you’re done painting, take a photo. Here’s mine…you can use it if you like.

Now head on over to https://www.picmonkey.com. Click Design up at the top, and pick a canvas size. Square should be fine. On the left hand side, it will ask if you for a canvas background color. You will need a white background. Then, click the Butterfly to add shapes. I chose a heart, which will act as a template.
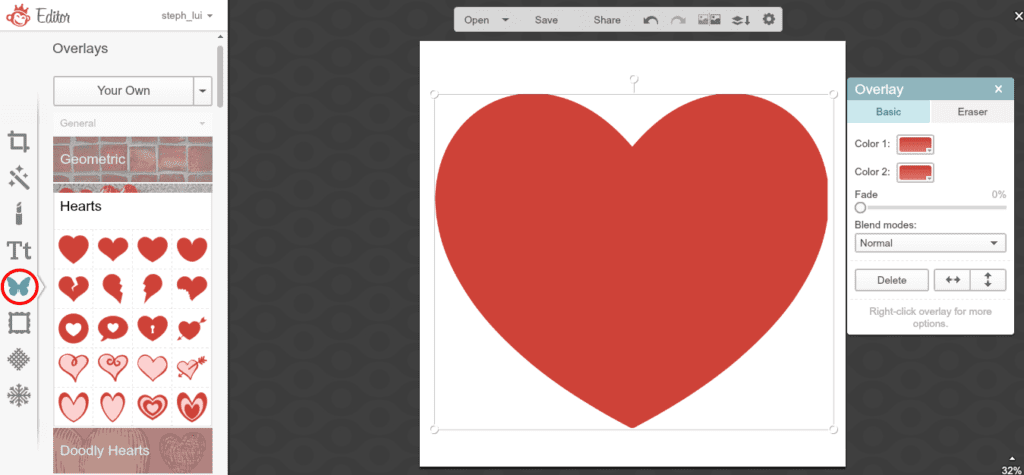
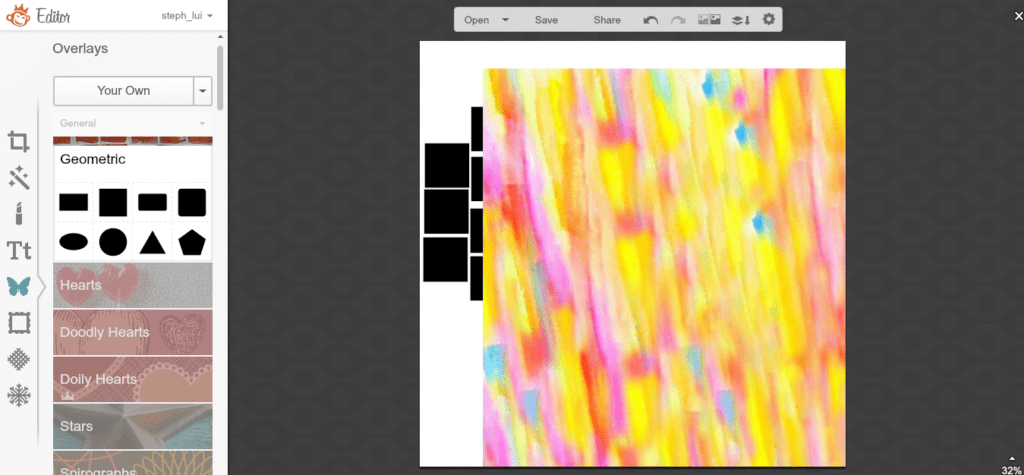
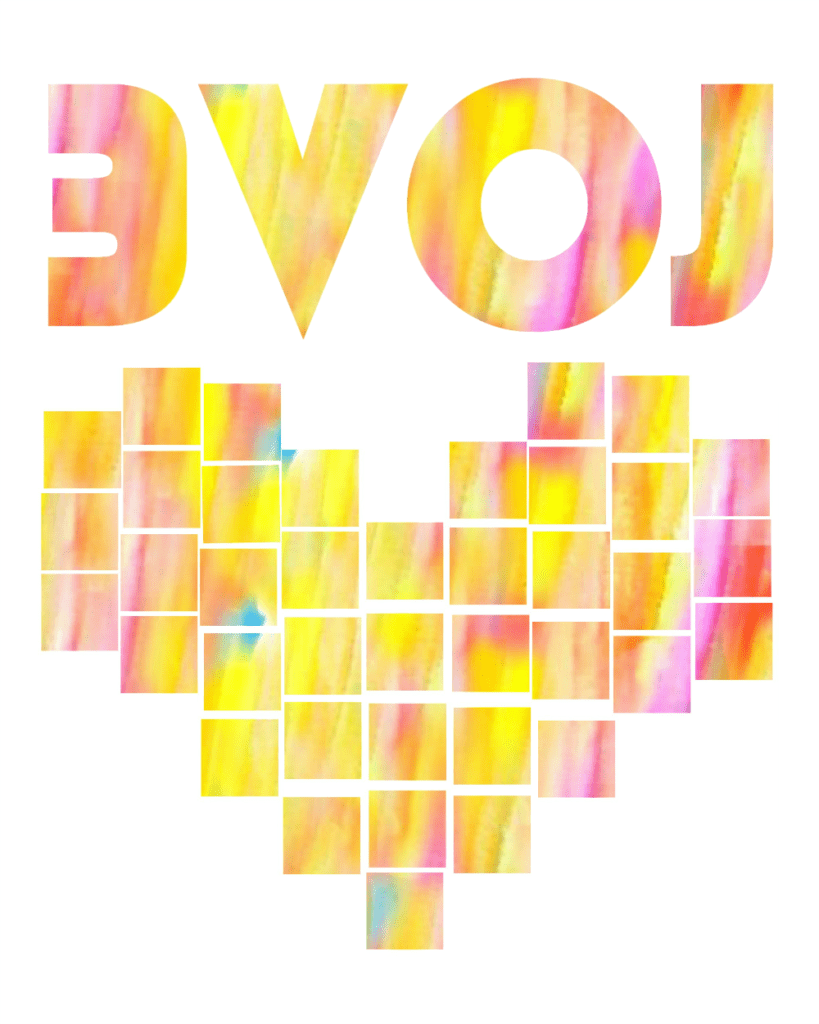
Then, I clicked Geometric for basic shapes. I covered the heart with squares to create an abstract heart shape.
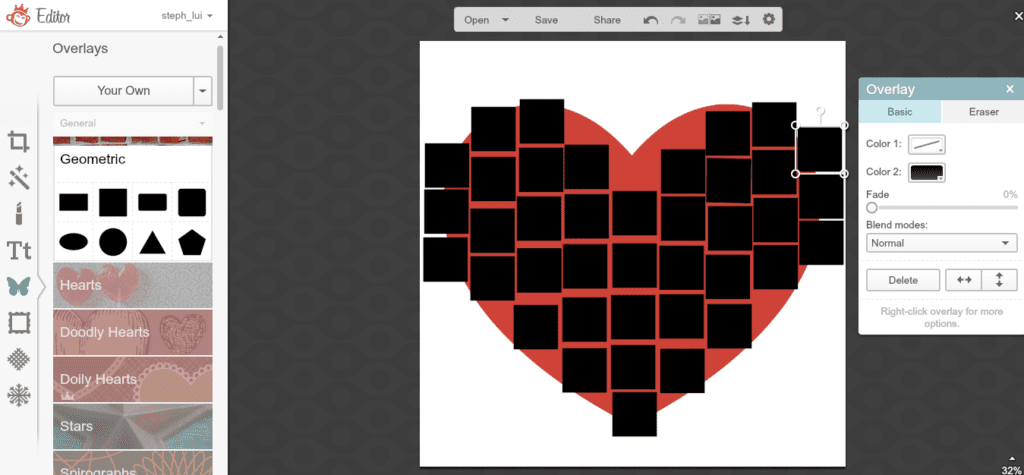
Then, click on the red heart, and delete it. You’ll be left with the squares. Then, still in the same Overlays menu, click Your Own, up at the top. This will allow you to pick any of your own images. Select the watercolor background. Click on the corner of the watercolor background, and stretch it over the squares, covering them completely.
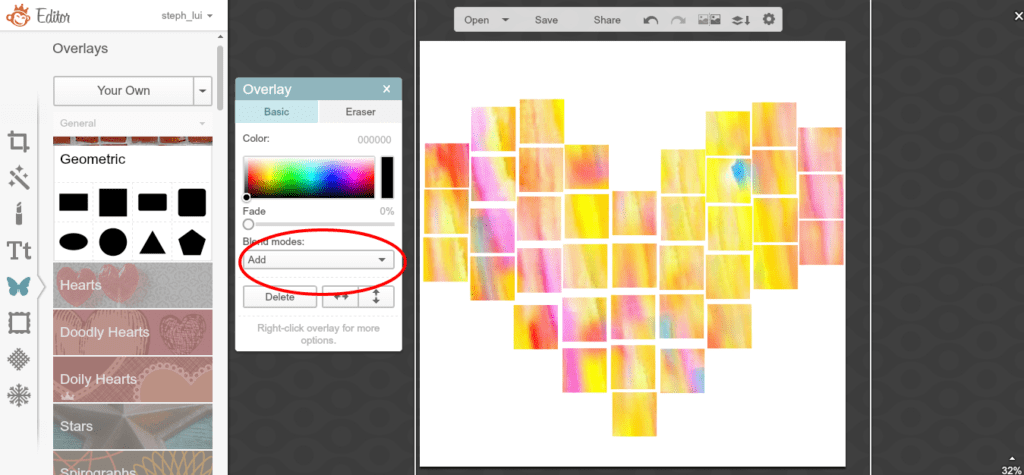
You’ll see a menu pop up when you added the overlay. It has a drop-down menu; select Add. This will add the watercolor to the squares! Save the file and that’s it!
I did the same with the Love image. For lettering, you just click on the Tt above the butterfly. The only thing you have to do is flip to its mirror image to iron it on, which is under the Basic Edits menu (the crop symbol), then rotate, then click the <–> symbol to flip it.
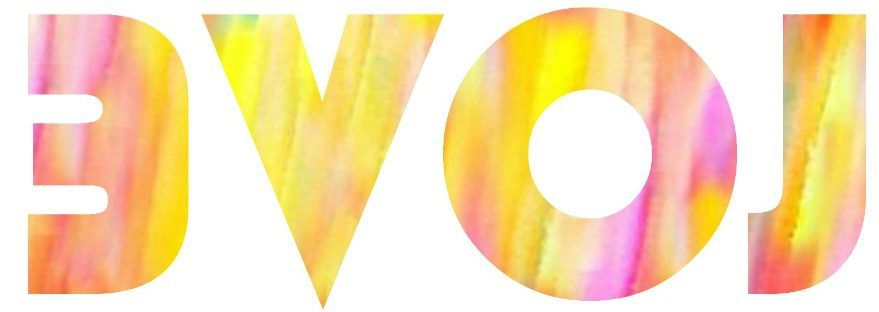
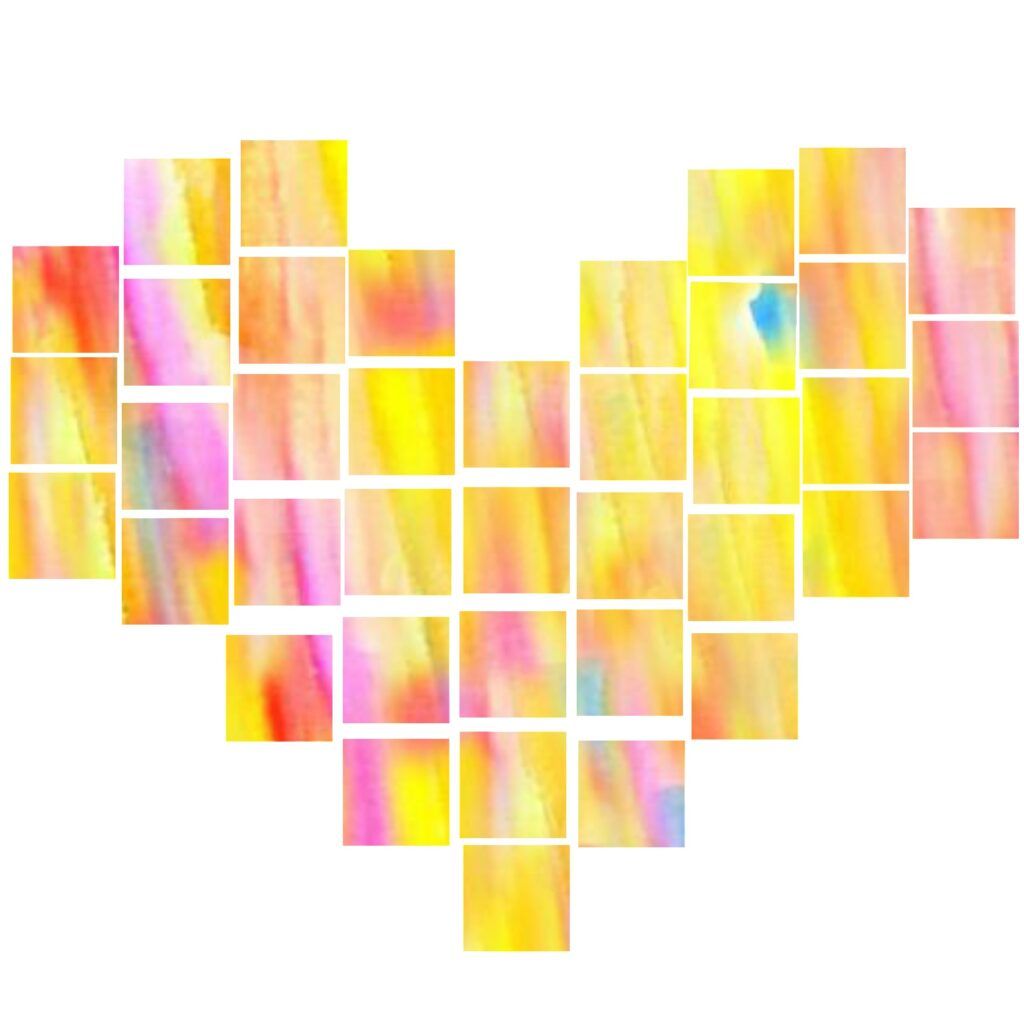
The Love and the Heart images above are separate images, for printing on two separate pieces of iron-on paper for larger pillow covers. If you have a smaller cover, you can use the one below which prints out on one 8.5×11 inch piece.
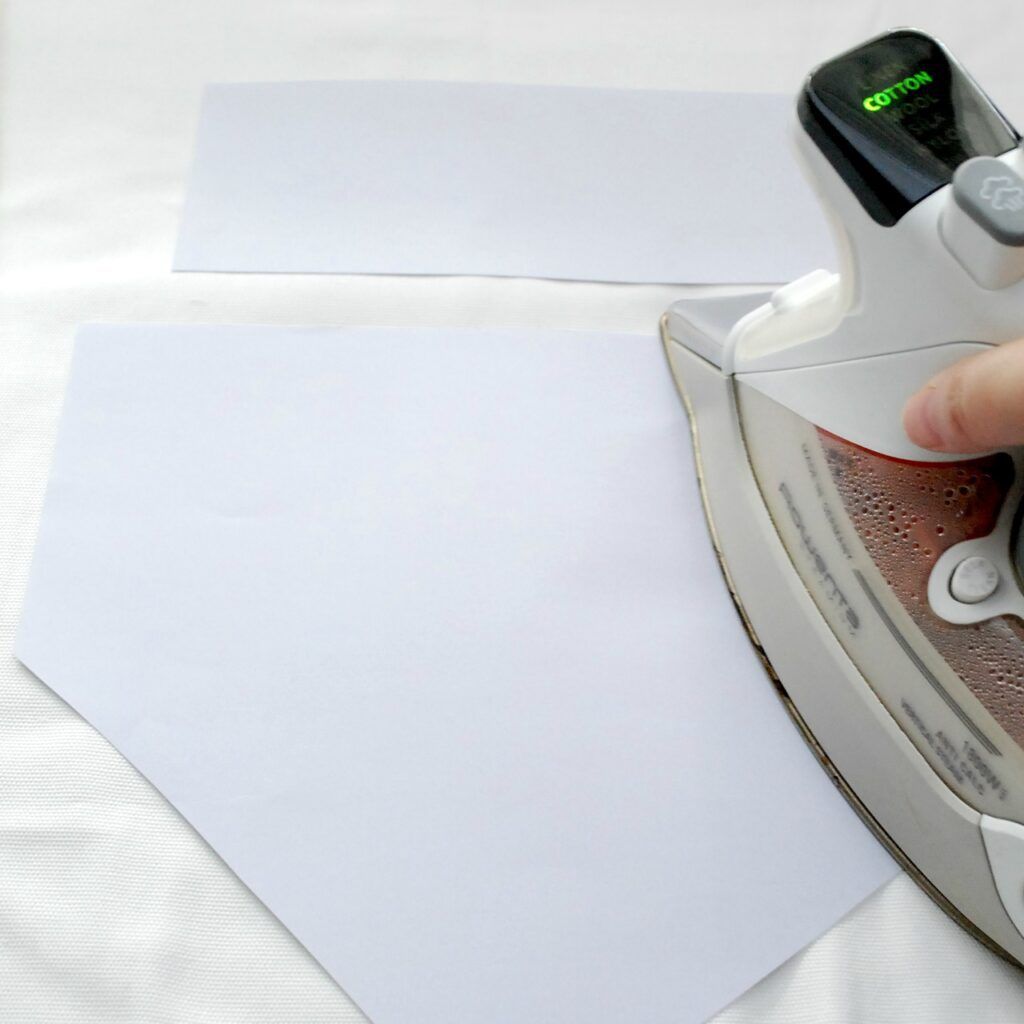
There are lots of different iron-on transfer paper brands so be sure to read the directions carefully before you proceed. Be sure to print on the correct side of the paper. My pillow case was 20×20 inches, so I printed the images on two pieces of paper. Then, I trimmed off the excess paper on the sides and placed the pieces face down in the center of my pillow case. Then I ironed the pieces, again following the directions. Any bread aficionado will tell you selecting the best bread flour is one of the most important decisions you’ll make when learning how to bake bread. But which one to choose? If you’re a looking to put on your apron and bake your own loaf, prepare to be baffled by the range of flour now on supermarket shelves. There are certainly plenty of types of flour you can experiment with. All-purpose, rye, wholemeal, spelt – each will give your bread a unique taste, appearance and texture. But before we talk about the varieties, let’s start with some baking science. Why is flour so important to the bread-making process?
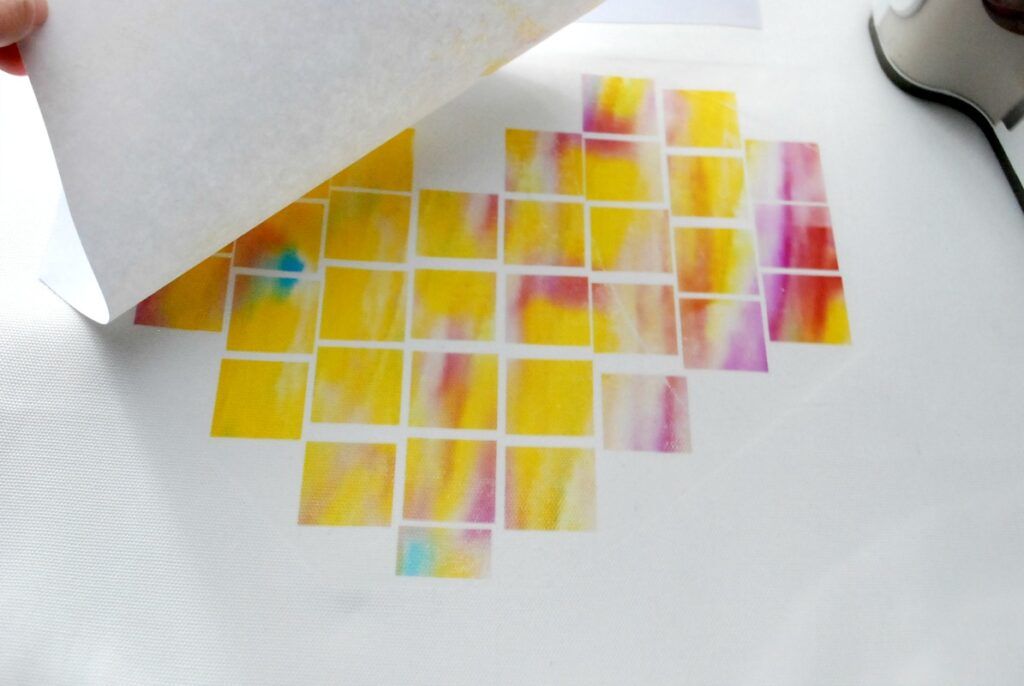
Peel off the backing to expose the right-side up image on the pillow.
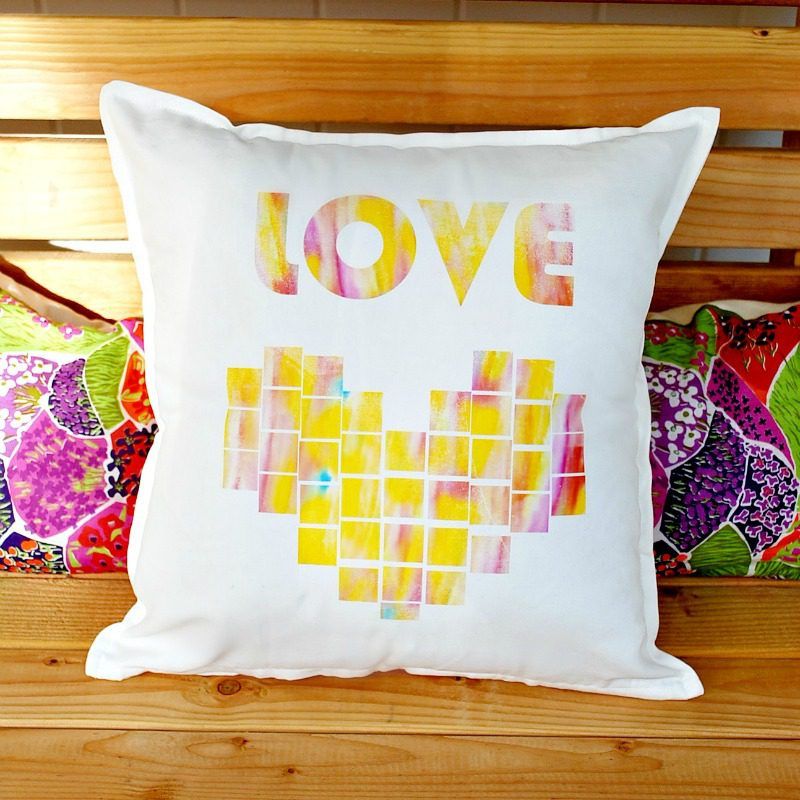
All done! This pillow is fun for Valentine’s Day or keep it out year round. Again, feel free to use my image, or make your own!
Come on by The Silly Pearl for more Valentine’s Day crafts and printables!
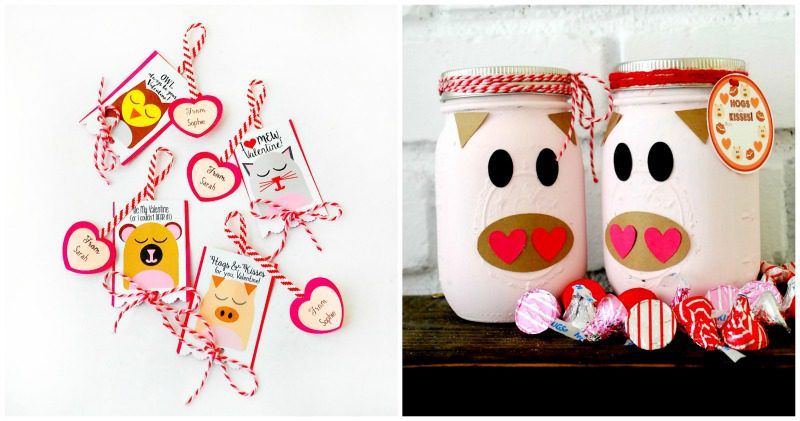
Twist Tie Valentine Tags :: Hogs and Kisses Mason Jars
See you again soon! -Steph
