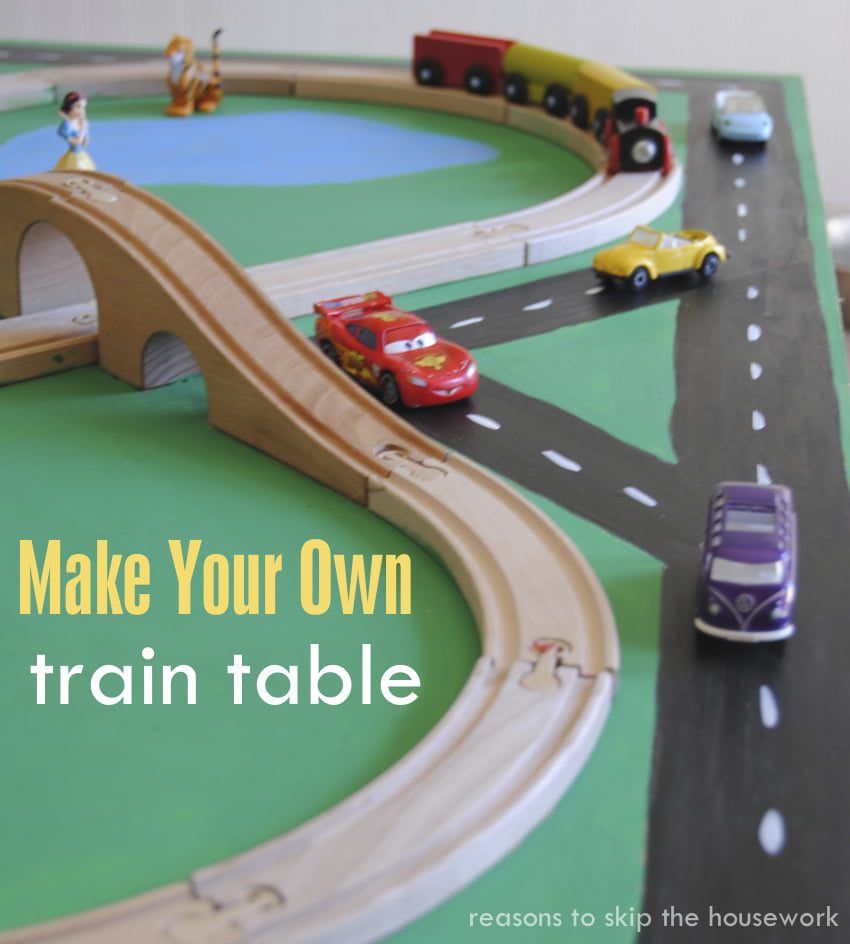
Planning to Make Your Own Train Table is not as hard as you’d think! Really, you only need a piece of wood large enough to hold the whole train set, some glue and paint and the rest, well… it’s easy peasy!
How To Make Your Own Train Table
This train table started out with a $10 basic train track set from IKEA. It’s the perfect use for a train set you’re tired of putting together and taking apart – over and over again.
A little thought and about an hour of time and you’ll have a completed train table for a LOT LESS than you would have paid at the store and you know the best part is that it slides under the bed and out of sight.
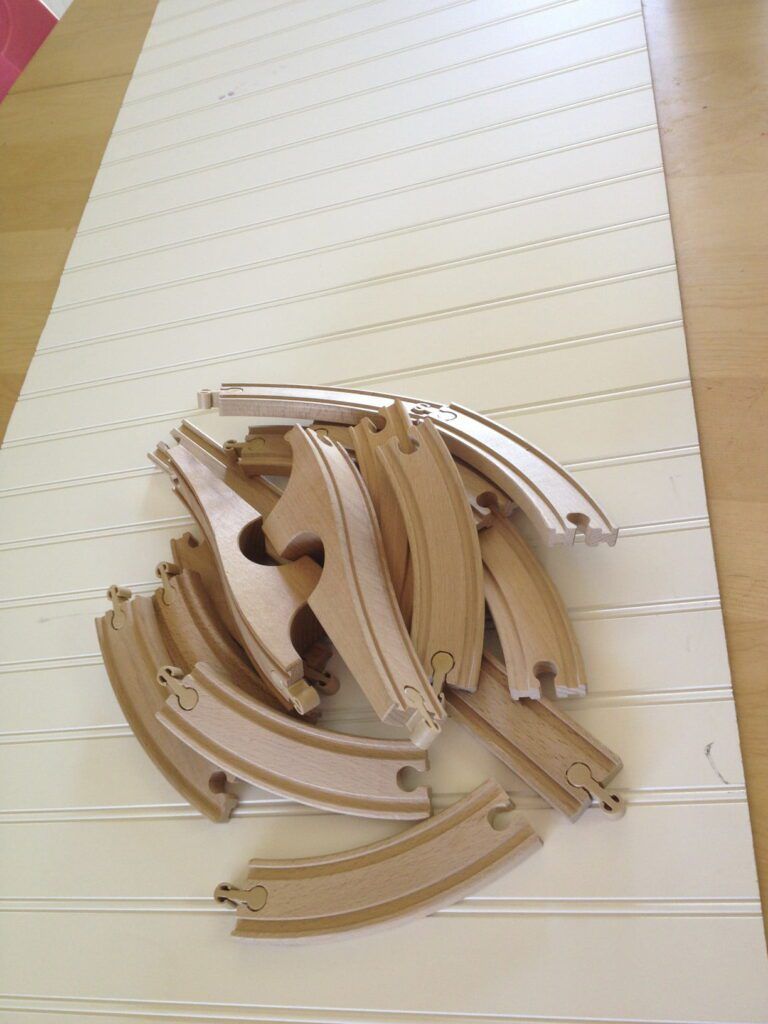
Look around your house for a large piece of wood because you never know what you might find. I had an extra piece of Wainscoting in the garage that I used for the base and it was perfect!
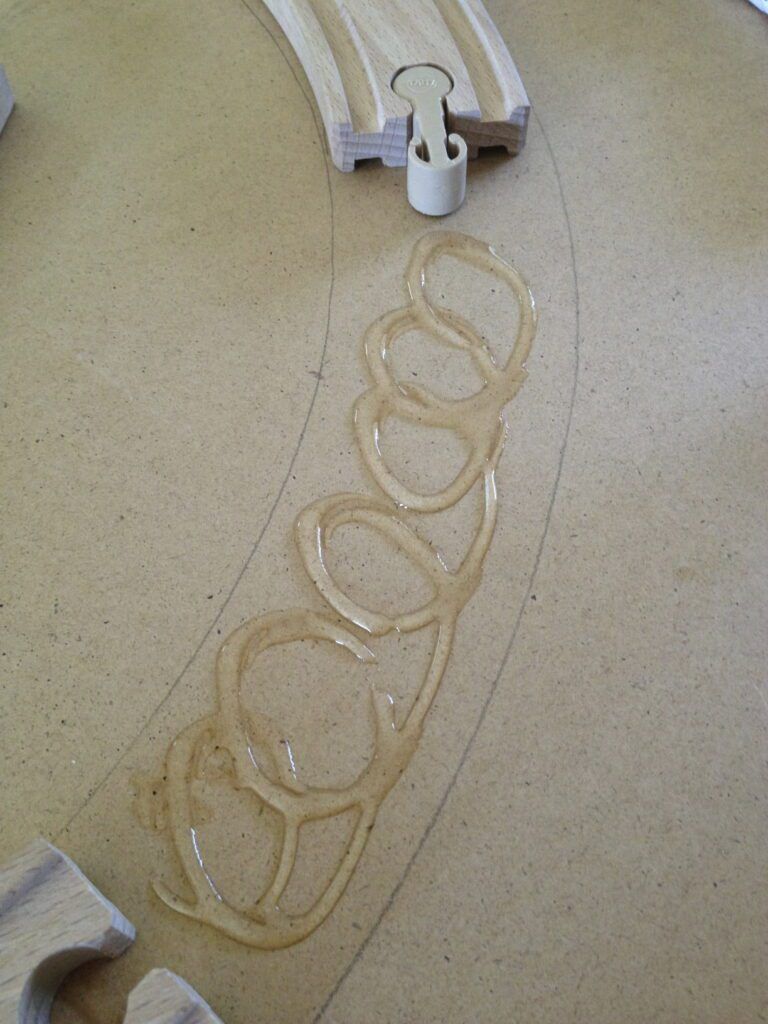
It’s easiest if you lay out the whole track, and then pick up one piece of track at a time, glue it, and continue to the next piece.
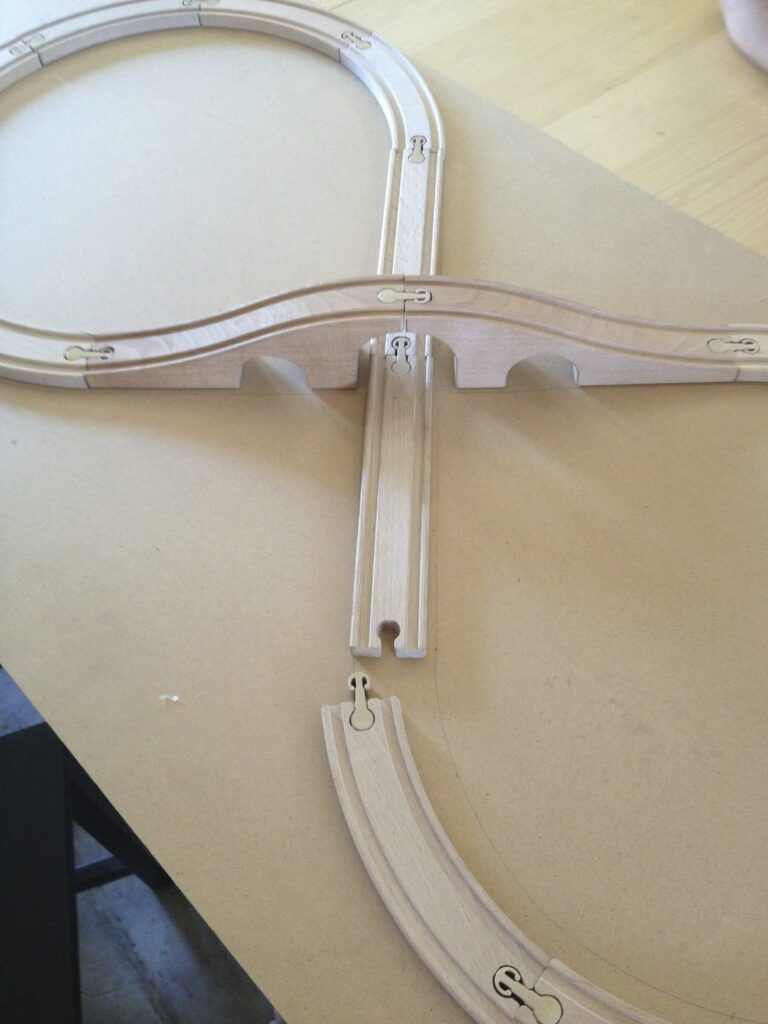
Once the track is assembled and glued down, give it about 10 minutes to fully dry and then use a pencil to outline the roads and ponds before you start painting.
If you want to get fancy, you can paint trees and rocks. This table really needs some rocks and maybe ducks in the pond, but I’m not an artist. If you’re not artistic, it can be made simple with no extras and be just as fun.
I would recommend you not glue on cute trees because this will keep it slim for sliding under the bed.
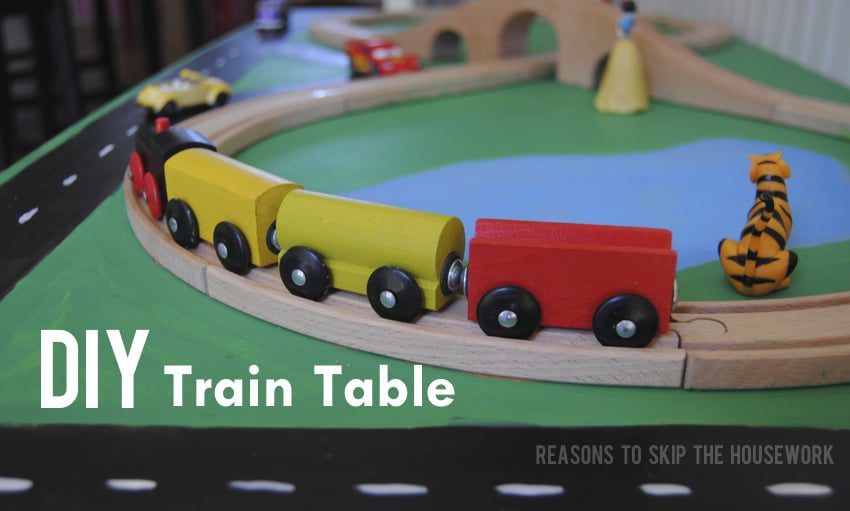
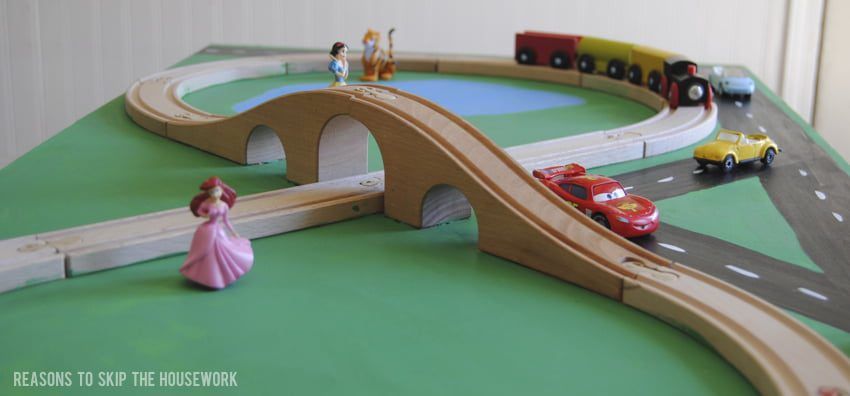
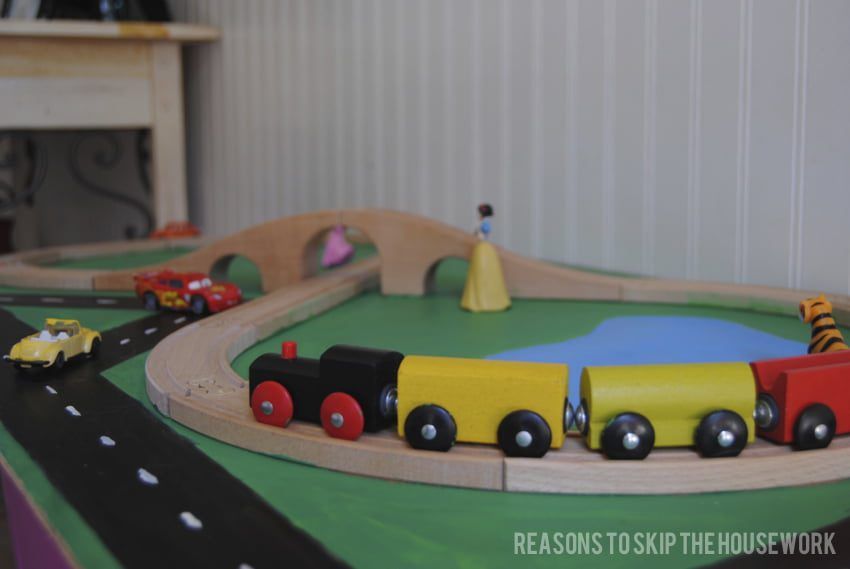
For me, the best part is being able to move it under the bed when I want!
This post originally published in May 2013.

Love this! I made one for my kids just recently!! I can’t wait to write about it soon!
what a great idea; it could easily be put up on a table too when you want. totally need to do this!
Thanks for linking up to Whimsy Wednesday! Your project has been featured this week on my blog!
Also, you can add your project {or any project} to my website. I feature them on my main slider on the home page…follow this link to submit your project!
Be sure to stop by and grab a button…
CONGRATS!!
You have been featured at The DIY Dreamer! YAY! Come on over and grab your featured button, you deserve it 🙂
See you this evening for the latest edition of From Dream To Reality #69!
Great idea! I’m in the market for a train table, and this looks like a fun project!
Did you put something over the wainscoting? Looks like it was ribbed but then smooth.
I know this is an older post and you probably wont see this comment, but I wanted to know the dimensions of the wood that you used for this product. We got our son the same Ikea track for Christmas and I would love to make this diy.
I see ALL of my comments! The wood I used it 21″ x 48″. It is just a piece of wainscoting that I had on hand, but they certainly will cut it for you that size at Home Depot! Good luck. We still use it at least a few times a week!
Hi curious what kind of glue you used . We are making s table for my son and have seen mixed reviews on what works best.
It’s been awhile, but I’m pretty sure I used E6000.
i was curious what paint you used. And if you put a clear coat on top to prevent chipping and whatnot. Thanks.
It was so long ago now, but I think I used regular Acrylic paint. I didn’t put on a clear coat and it’s still going strong years later!