Hi! This is Amanda from The Tale of an Ugly House. I’m so excited to share a fun project with you all!
This DIY was inspired by a similar sign from World Market. You can easily replicate this Fresh Baked Pie Sign at home.
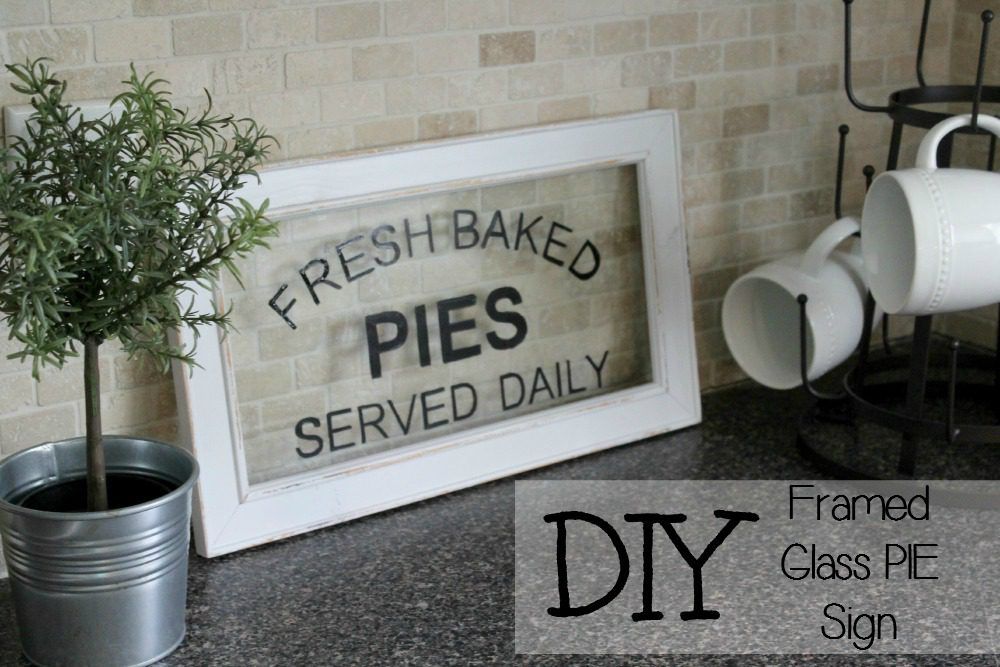
How to Make a Fresh Baked Pie Sign: Step-by-Step Tutorial with Images
- First, you need a picture frame. You can typically find one at any thrift store for a couple of dollars or less. Here is the frame I started with.
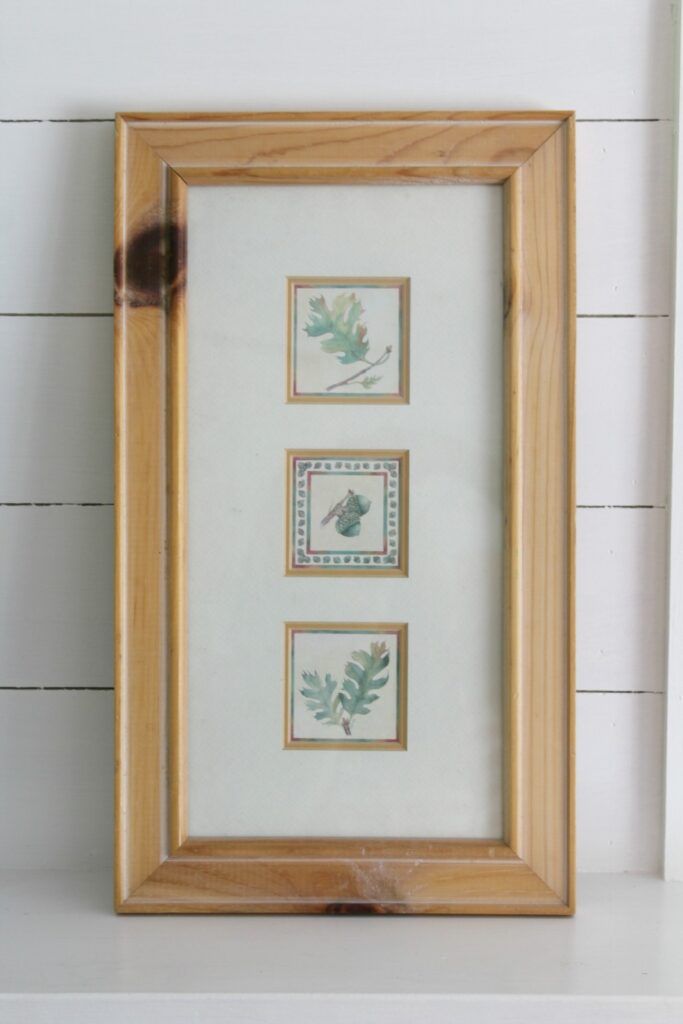
- Take the backing off your picture and clean the frame and glass.
- You can leave your frame as is or you can paint it first. I chose to spray paint mine white using Rust-Oleum’s semi-gloss white.
- I used my Silhouette Cameo to print out the wording on vinyl.
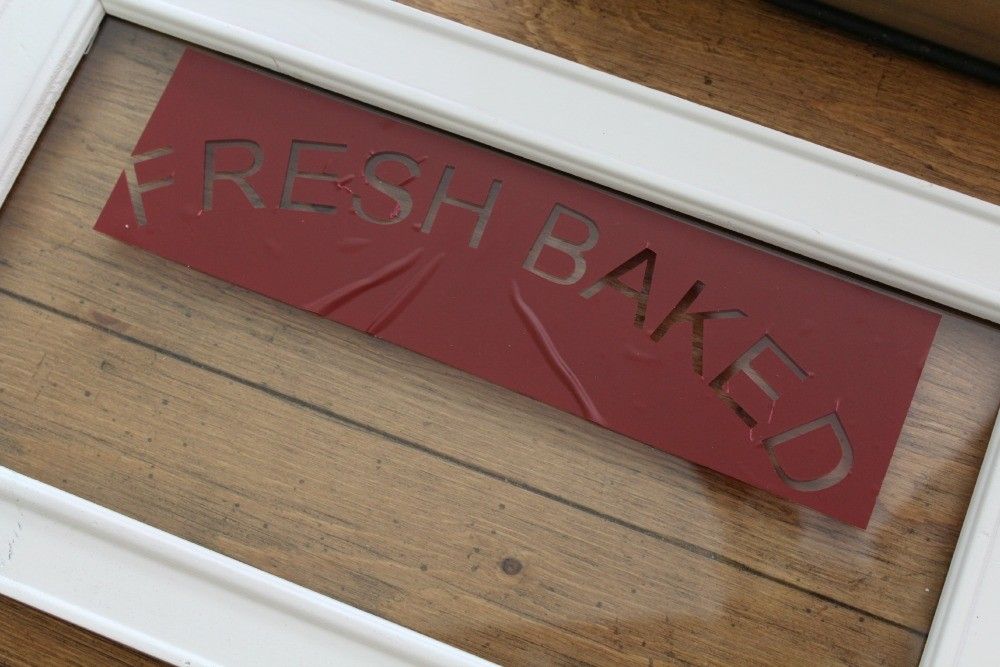
- If you do not own a Silhouette Cameo, you can just use regular letter stenciling from any craft store.
- Once you have your vinyl or stencil in place, trace the letters with a sharpie marker.
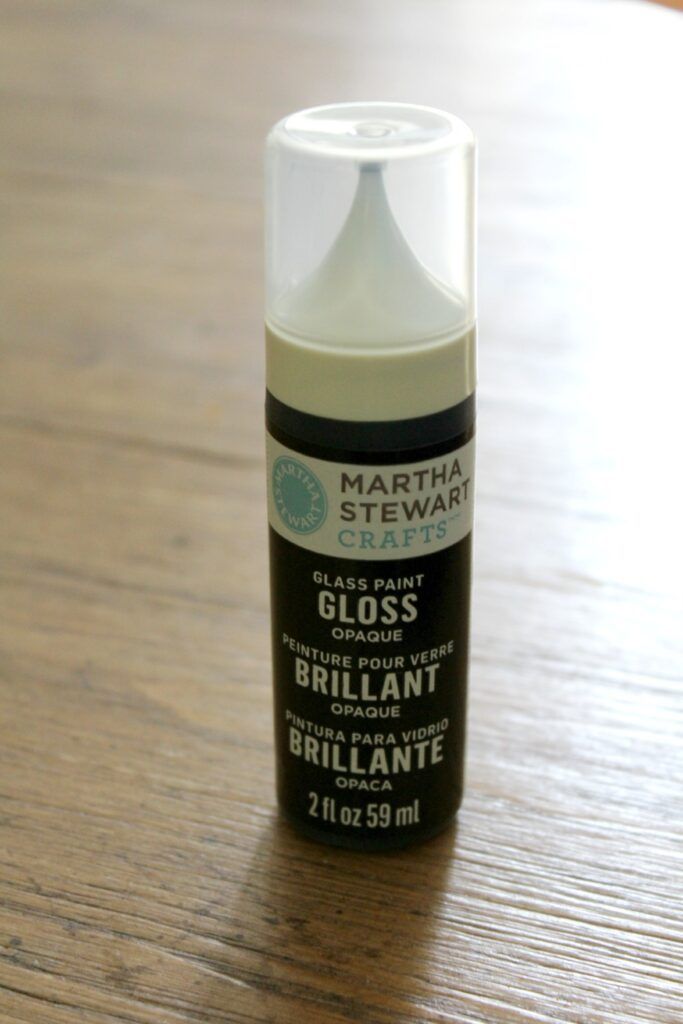
- Remove the stencil and fill in the letters with a small brush and your choice of glass paint. Martha Stewart has a line with several great colors to choose from.
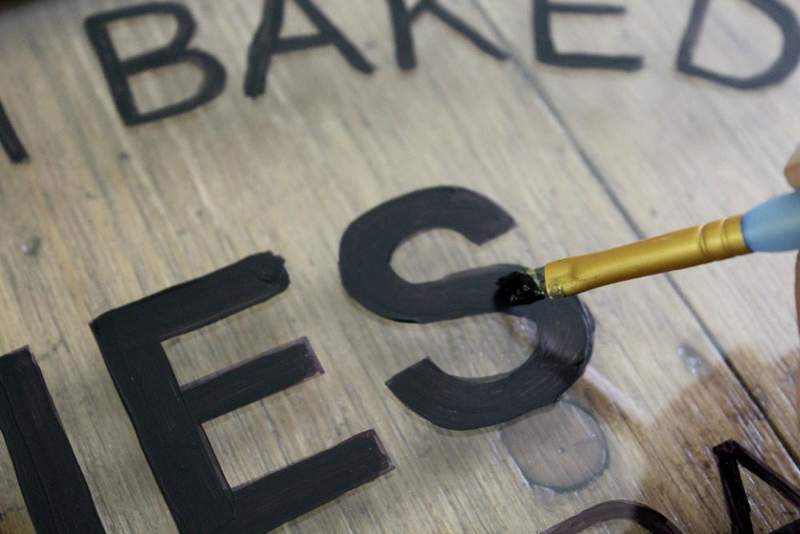
- Let everything dry overnight. Once the paint was dry I went back and used a lite grit sandpaper to distress the edges of the frame to give it more of a shabby chic look.
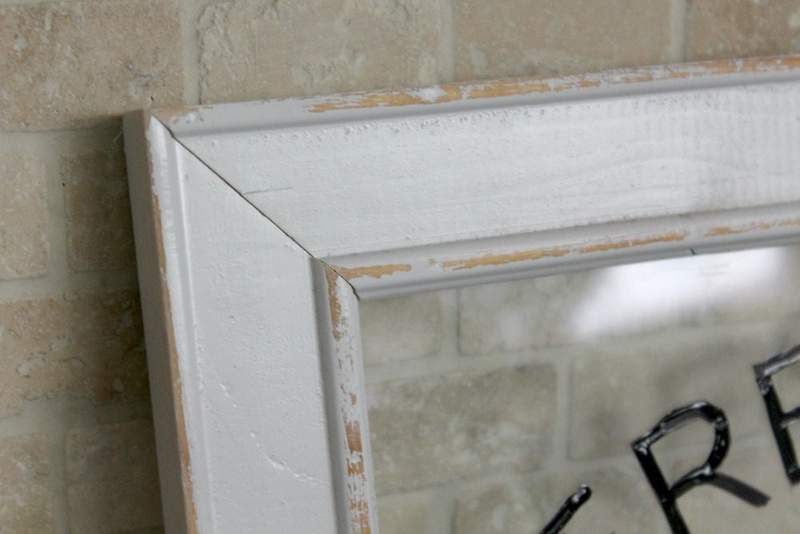
That’s it! It’s a super easy and quick decor project that looks great in any kitchen or dining area. You can make your frame to say anything you’d like. Get creative and have fun with it!

Tell Me What You Think About My Fresh Baked Pie Sign!

Be sure to check out my other DIY home decor, Furniture builds, and home renovations at The Tale of an Ugly House.

This is a really fun idea. I love the sign and it looks so good! I may be over for some pie! LOL.
Love this because I’ve been trying to get World Market one for months now and it’s always sold out!
sold out…because it’s DARLING! Thanks for stopping by!
So cute! I love that it was made with an old frame- I think I’ve got one or two of those around 🙂
I love this and would love to try to make one. Would you mind sharing the font you used and the size? And the frame size. I am new to the silhouette so specifics would help me out a lot! 🙂 Thanks!
Adorable!! How do keep the glass secured in the frame without the clips showing?