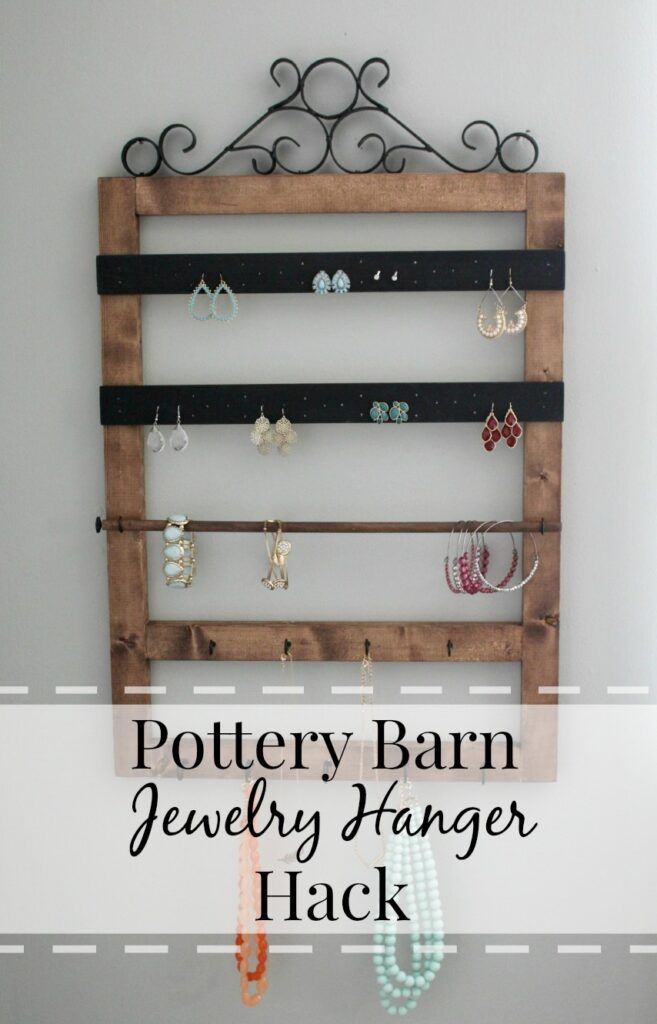
Hi everyone, I’m Amanda from The Tale of an Ugly House. If you’ve seen Pottery Barn’s latest jewelry organizer, you might be as in love as I am! I don’t know about you but I desperately needed a way to keep my jewelry organized. When I saw the jewelry hanger in PB’s summer catalog, I wanted one. Then I saw the $99 price tag and I knew I could make one similar for a lot less.
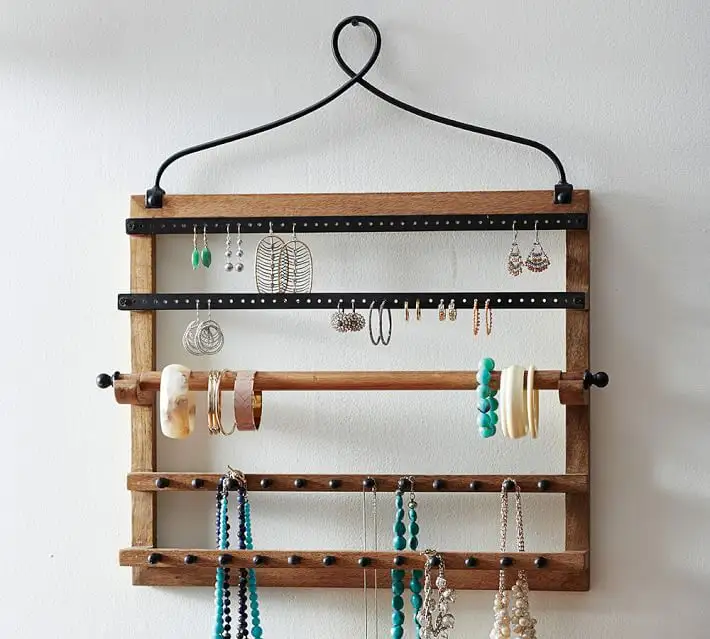
Here is Pottery Barn’s jewelry hanger.
Here’s what you need to make my version:
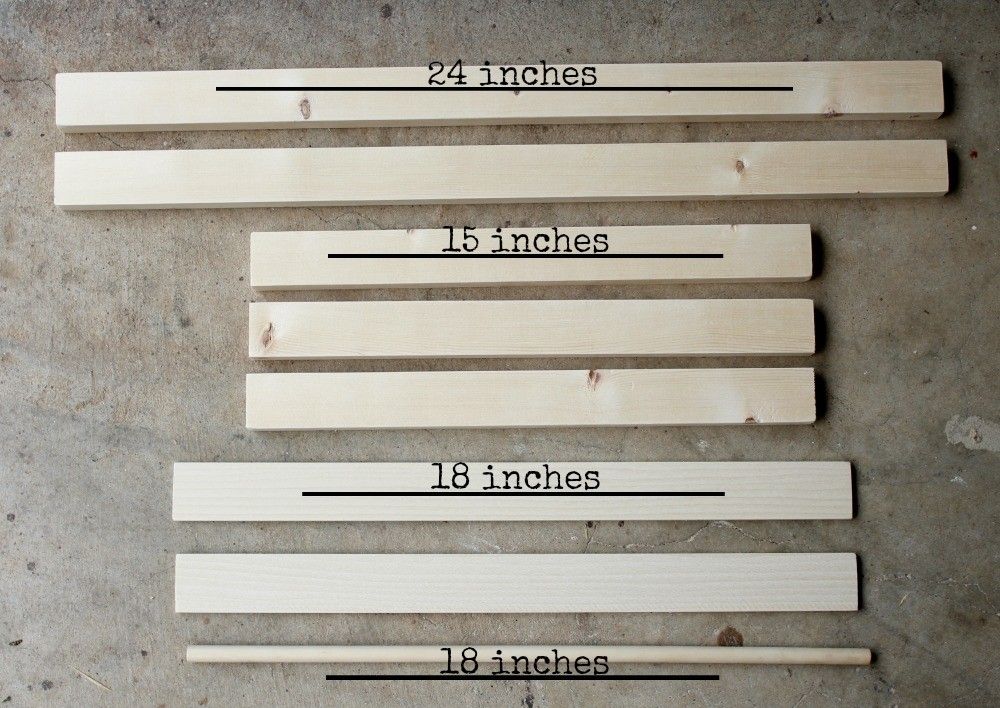
1 – 1x2x8′
1 – 1/4x2x3″
1 – 1/4″ wooden dowel
(If you do not have a way to cut your pieces to the right lengths, most Home Depots or Lowes will cut them for you.)
1 pack of black cup hooks
1 small decorative knob (optional)
1.5″ flat corner brackets (4 pk.)
Black spray paint
stain of choice
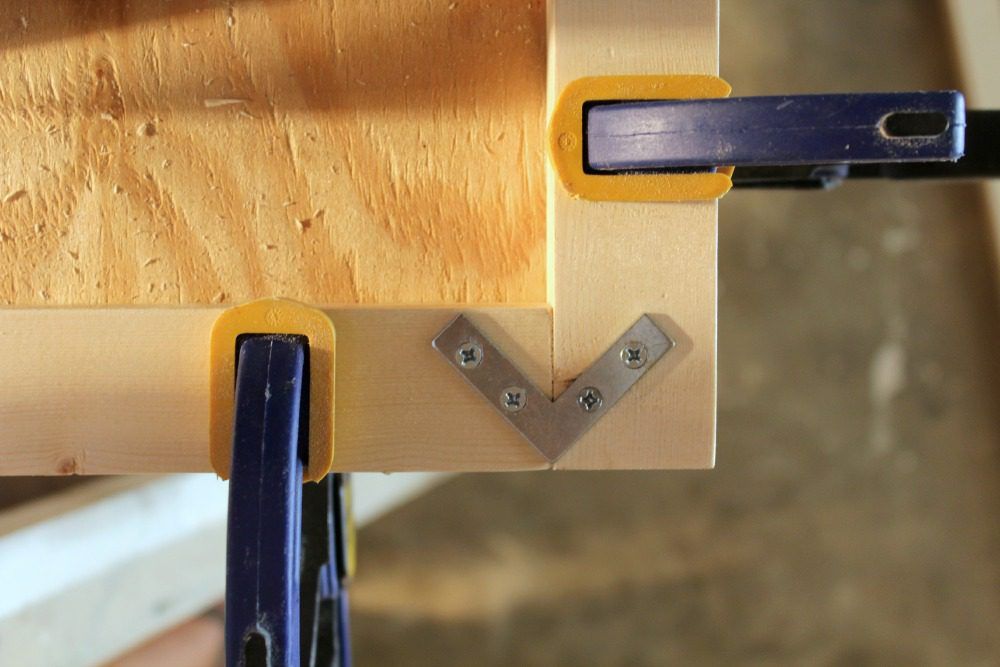
1. Once your 1×2’s are cut and sanded to length, assemble your frame. Use one corner bracket to attach the side and top piece together.
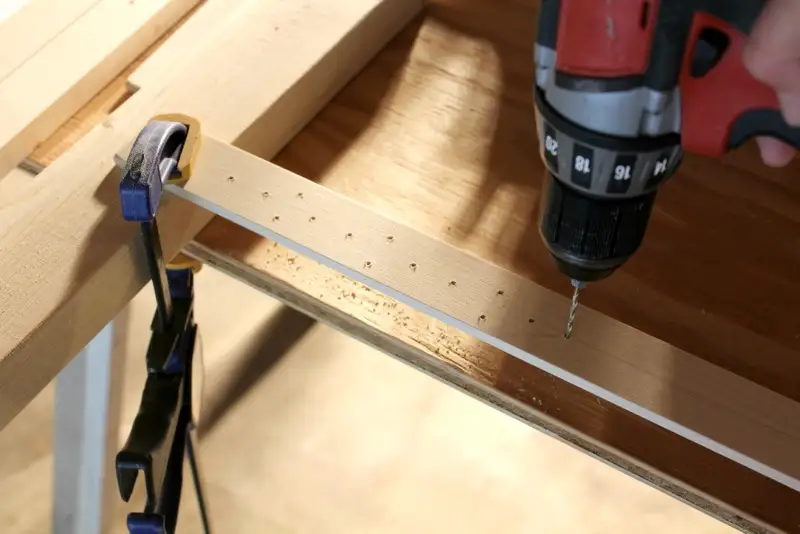
2. Drill your holes in the slates for hang earrings using a drill and round drill bit. I started 1.5″ inward on each side. Drill your holes however is most useful for hanging the earrings you have.
3. To give the wooden slates a metal feel like PB’s hanger, I used Rust-Oleum’s flat black spray paint.

4. I chose to stain my hanger with one coat of Varathane’s dark walnut stain. The great thing about this particular stain is that it dries in an hour! Once it’s dry, you’re good to go.

4. Attach your slates onto your frame by using a nail gun with 3/4″ brad nails. If you don’t own a nail gun, simply screw them into place. I attached my first slate 1 1/2″ from the top.
5. Attach the other pieces using the same method. I spaced each piece 3 1/2″ apart from one another.
6. Screw in your hooks and dowel where you’d like them. I screwed in a small decorative knob in one end of my wooden dowel to prevent it from sliding out on both sides. This step is optional.
I had a small metal art piece on hand that I added to the top for looks. You can find ones similar to this at Hobby Lobby. Be sure to get the 40% off coupon from their website! Mine screwed down into the top of my frame. You can also use black wire or use D-rings to hang your frame.
There ya have it. You’re ready to get organizing!

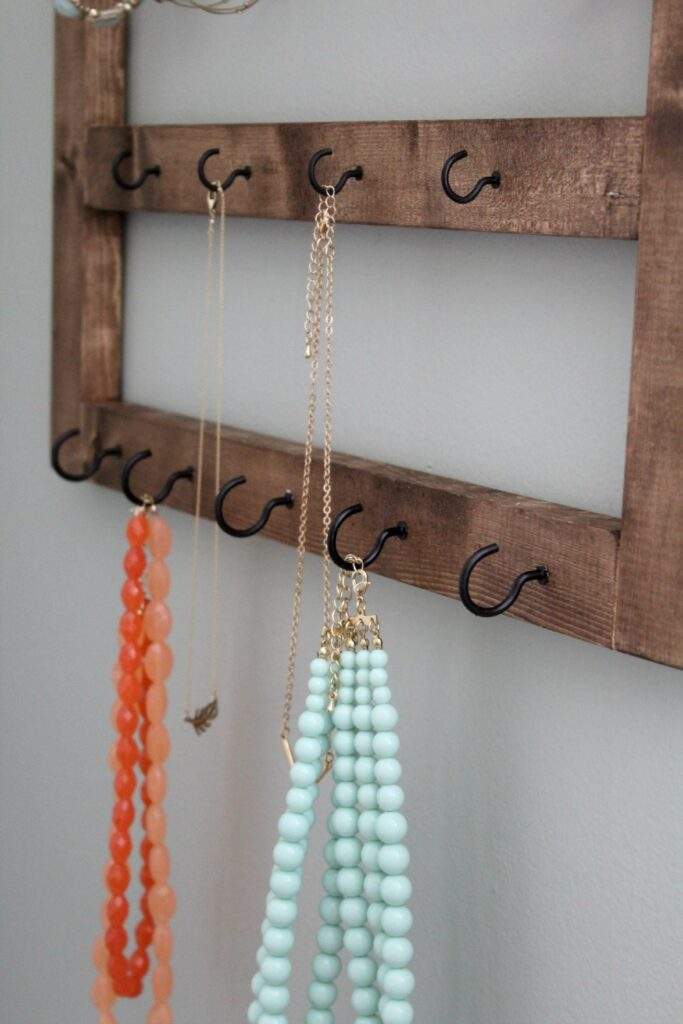
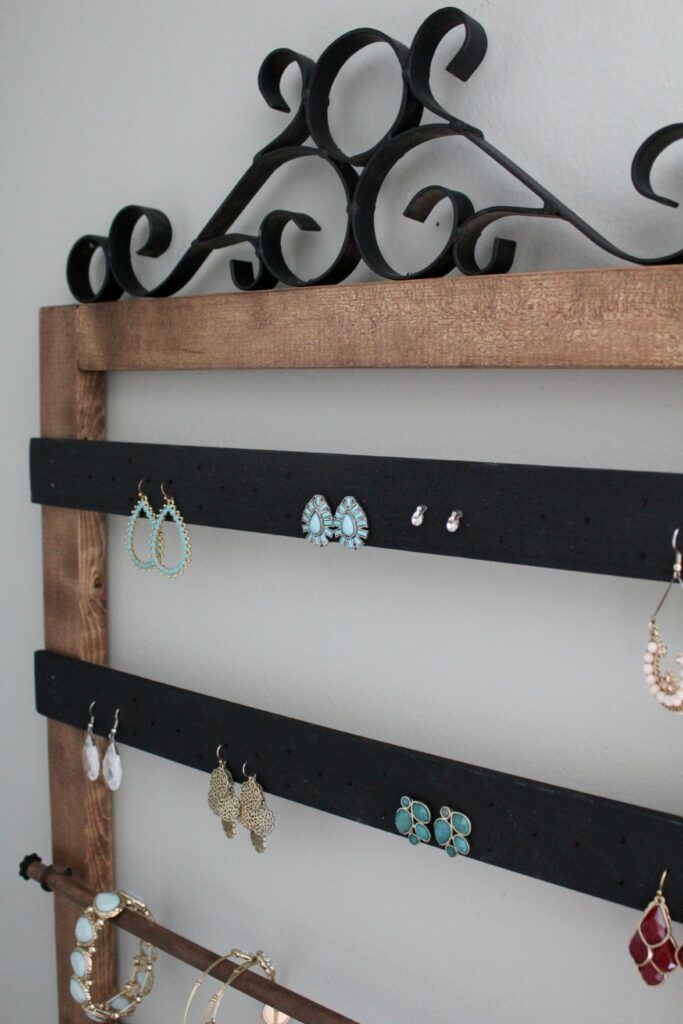
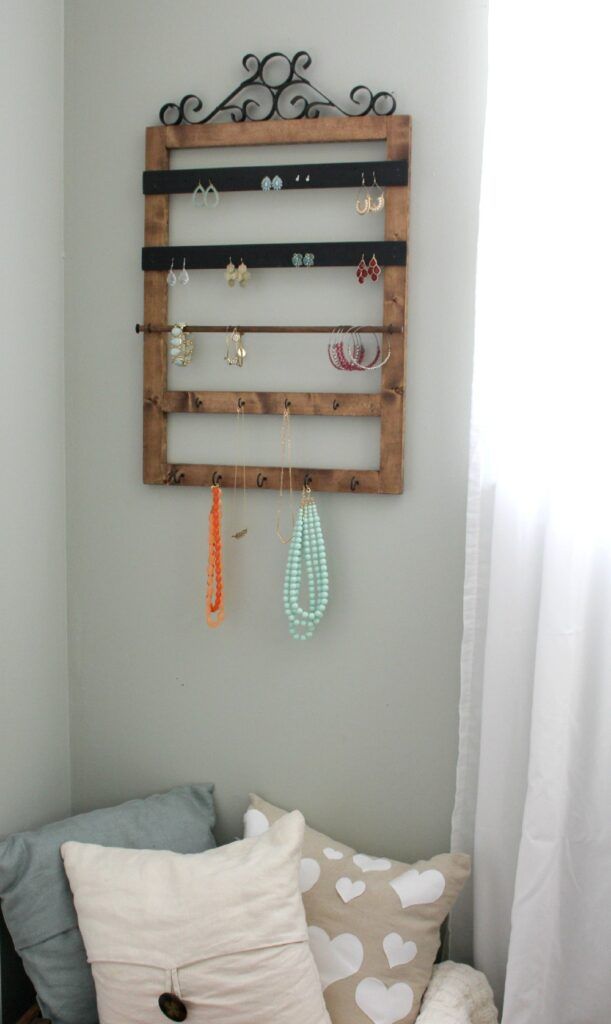
My jewelry hanger came in just under $10! I had a few things already on hand. If you were purchasing everything needed your total would be closer to $20. That’s a huge savings and you still get all the character and usefulness of PB’s hanger!
Be sure to check out my other DIY home decor, Furniture builds and home renovations at The Tale of an Ugly House.
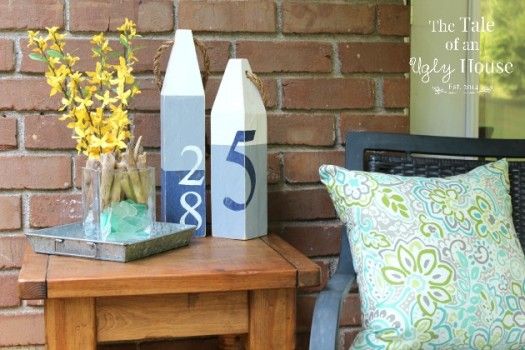
Here are a couple of my latest projects I’ve been working on, enjoy!
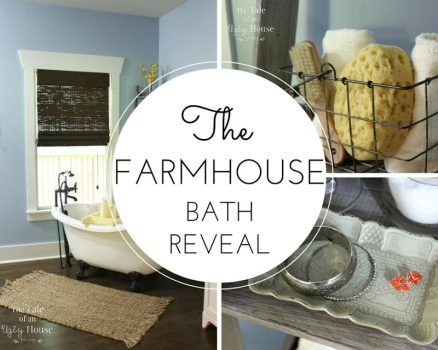
Farmhouse Bath Reveal

How did you attach the 2nd bar from the bottom up? I see you used flat corner brackets for the corners and nails for the two black slats, but what about other 15in bar?
Thanks